Jiutu Store · LCD Screen Repair Workflow
A repair bench usually tells the truth before a report does. After OCA lamination, one screen may look almost perfect, while another has a small corner bubble that refuses to disappear. In many cases, the issue is not only pressure or time. It is the full workflow. A stable LCD bubble removing machine helps repair teams control the final step, but the best result comes when cleaning, lamination, loading, heating, pressure, rest time, and inspection all work together.
The real problem: bubbles are usually a workflow signal
In a normal screen repair room, bubbles often appear at the worst moment. The glass is already aligned. The OCA film looks smooth. The screen comes out of lamination, and one small mark sits near the edge. At first glance, it feels like a machine setting problem.
However, the bubble may have started earlier. A tiny dust point may have stayed near the speaker opening. The OCA film may have touched down too quickly. The screen may have sat on the bench for 12 minutes before entering the chamber. Even a slight tray angle can change how pressure reaches the edge.
That is why bubble removal should not be treated as a rescue step. It is a finishing step. When the screen enters the chamber in good condition, the machine can complete the result. When the screen enters with dust, stress, or poor alignment, the same cycle may only hide the problem for a short time.
The most useful repair mindset is simple: do not ask the machine to fix the whole process. Let the process prepare the screen well, then let the machine finish it under stable pressure and controlled timing.
Practical view: stable yield does not come from one stronger setting. It comes from a calmer process: clean the panel, laminate it evenly, load it flat, run a repeatable cycle, let it rest, then inspect it under real light.
How bubble removal works in simple repair terms
After OCA lamination, air can stay between the cover glass, adhesive layer, and LCD surface. The bubble may be small, but it is still visible because light passes through that area differently. On a white test screen, it may look like a small bright ring. On a grey screen, it may look like a faint shadow.
An LCD bubble remover uses controlled pressure, often with mild heat, to compress trapped air. The adhesive becomes easier to settle, and the remaining air pocket can shrink into the OCA layer. This is why a screen that looks “almost finished” after lamination can become visually clean after a proper chamber cycle.
Still, the machine cannot fix everything. It cannot remove dust trapped inside the stack. It cannot correct badly aligned glass. It cannot make a weak upstream lamination process disappear. So the principle is clear: the chamber removes air, not process mistakes.
This is also why experienced technicians usually look at bubble shape before touching the control panel. A clean air bubble and a dust bubble may look similar to a beginner, but they behave very differently after pressure.
Why pressure alone is not the answer
It is easy to think that higher pressure means cleaner screens. In practice, that is not always true. Too much pressure can create marks, especially when panels are stacked badly or when a sensitive display sits on uneven support.
A better method is to make one controlled change at a time. If edge bubbles remain, increase time slightly before raising pressure. If center bubbles keep appearing, look at lamination first. This slower method feels less dramatic, but it gives better information.
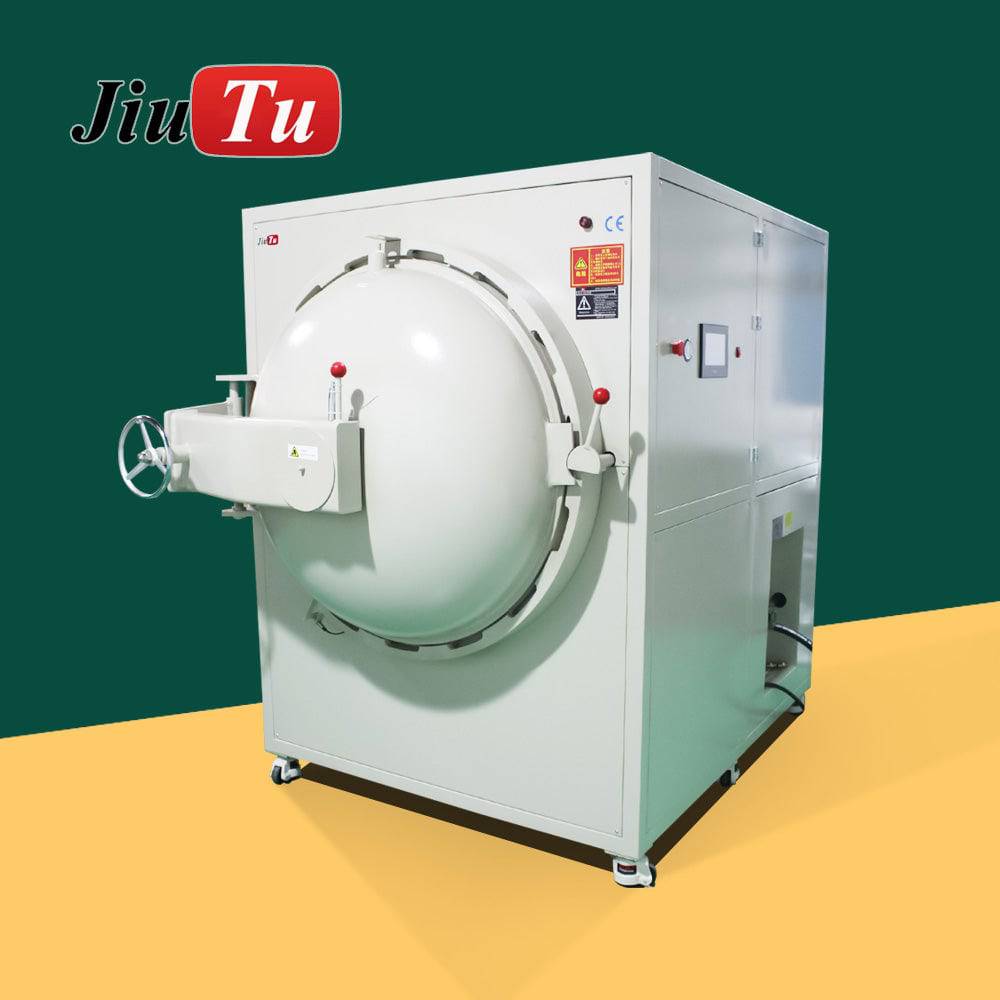
Where an LCD bubble removing machine fits best
The best use case is not a perfect showroom workflow. It is a real repair bench with phones, tablets, dust checks, OCA film, and a technician trying to keep the next screen from turning into rework. In that kind of room, the machine adds value because it makes the final step more predictable.
The fit becomes even clearer when the same defect appears again and again. If small edge bubbles keep returning after lamination, or larger panels need too much manual correction, the workflow needs a controlled finishing process.
A small shop may use the chamber several times a day. A refurbishment bench may run trays in a fixed rhythm. A display module team may use it more slowly, with longer inspection and records. The machine is the same type of tool, but the work rhythm changes the way it should be used.
Phone screen repair
Useful after OCA lamination when small center bubbles or edge bubbles remain on smartphone LCD assemblies.
Tablet refurbishment
Helpful when larger glass panels need more chamber space, flatter loading, and more careful rest time after pressure.
Display module rework
Suitable when TFT LCD, IPS LCD, or wider display modules require repeatable inspection and stable finishing after bonding.
How to judge the bubble before changing settings
The fastest way to waste time is to treat every bubble the same. A round air pocket in the center, a thin line along the edge, a dot inside the bubble, and a cloudy patch after heating all need different thinking.
Before changing the machine, look at the defect under side light. Then mark where it appears. If ten screens fail at the same corner, the problem is probably not random. It may be glass placement, edge cleaning, tray angle, or cable-side support.
This simple habit changes the whole repair conversation. Instead of saying “the machine did not remove bubbles,” the team can say “this corner keeps failing after lamination,” or “this screen type needs more rest time.” That is much easier to fix.
Center bubble
Usually linked to lamination air. Check vacuum, OCA placement, and touchdown angle before extending every cycle.
Edge bubble
Often related to edge cleaning, curved glass, adhesive fit, or panel support during chamber loading.
Dot bubble
Usually a dust issue. Pressure may shrink the air, but the particle will remain visible under inspection light.
Cloudy patch
May come from adhesive condition, heat behavior, contamination, or uneven pressure contact.
A better daily workflow: from OCA lamination to inspection
A good repair workflow does not need to look complicated. In fact, the best bench often looks quiet. The tools stay in the same place. Screens move forward in one direction. The inspection light stays at the same angle. The operator does not keep guessing.
This kind of rhythm matters because bubble removal is sensitive to small habits. A screen that is handled cleanly for 20 minutes can be ruined by one careless move before loading.
Step 1: inspect immediately after lamination
Right after lamination, place the screen under side light for 10 to 15 seconds. Tilt it slowly. If the mark has a clear dust point, send it back for cleaning review. If the mark is soft and round, it may respond well to a chamber cycle.
This small check prevents wasted cycles. It also keeps the machine from being blamed for a dust problem.
Step 2: sort screens by type and size
Phone LCD panels can usually run together. Tablet panels need more space. OLED or sensitive modules need gentler thinking. Do not mix one unusual panel into a normal batch just because there is empty space.
Sorting takes a few minutes, but it makes results easier to understand. If one batch fails, the cause is easier to trace.
Step 3: load panels flat
The screen should lie flat on the tray. Flex cables should not fold under the panel or touch the chamber wall. If the panel leans, twists, or sits on uneven support, pressure can create new marks instead of removing old bubbles.
Avoid stacking unless the tray design clearly supports it. Stacking looks efficient, but it can make inspection results less predictable.
Step 4: run a recorded cycle
Use a written cycle card. Record screen type, temperature, pressure, time, and result. A single line per batch is enough. After two weeks, that small record will explain patterns that memory misses.
If a result is not stable, change one factor at a time. Increase time slightly before raising pressure. If the issue stays in the same place, look back at cleaning, alignment, or loading.
Step 5: let the screen rest
A screen may look clean right after the door opens. Then, after 30 minutes, a faint edge line returns. Rest time catches that difference before assembly.
Place panels flat in a clean tray. Do not stack them loosely. Do not bend the cable while the adhesive is settling.
Step 6: inspect with power on
A powered-off screen hides too much. Use white, grey, and black test screens. Grey is especially useful because faint pressure marks and slight haze often show there first.
This final check should happen before assembly, not after. It is easier to fix a process issue at the bench than after a screen is already installed.
Core parameters that actually affect repair results
Parameters matter, but they should not be read like isolated numbers. Chamber size affects loading. Pressure affects bubble compression. Temperature affects adhesive behavior. Time affects how complete the finishing step becomes.
The right setting is the one that produces stable inspection after rest, not the one that looks strongest on paper.
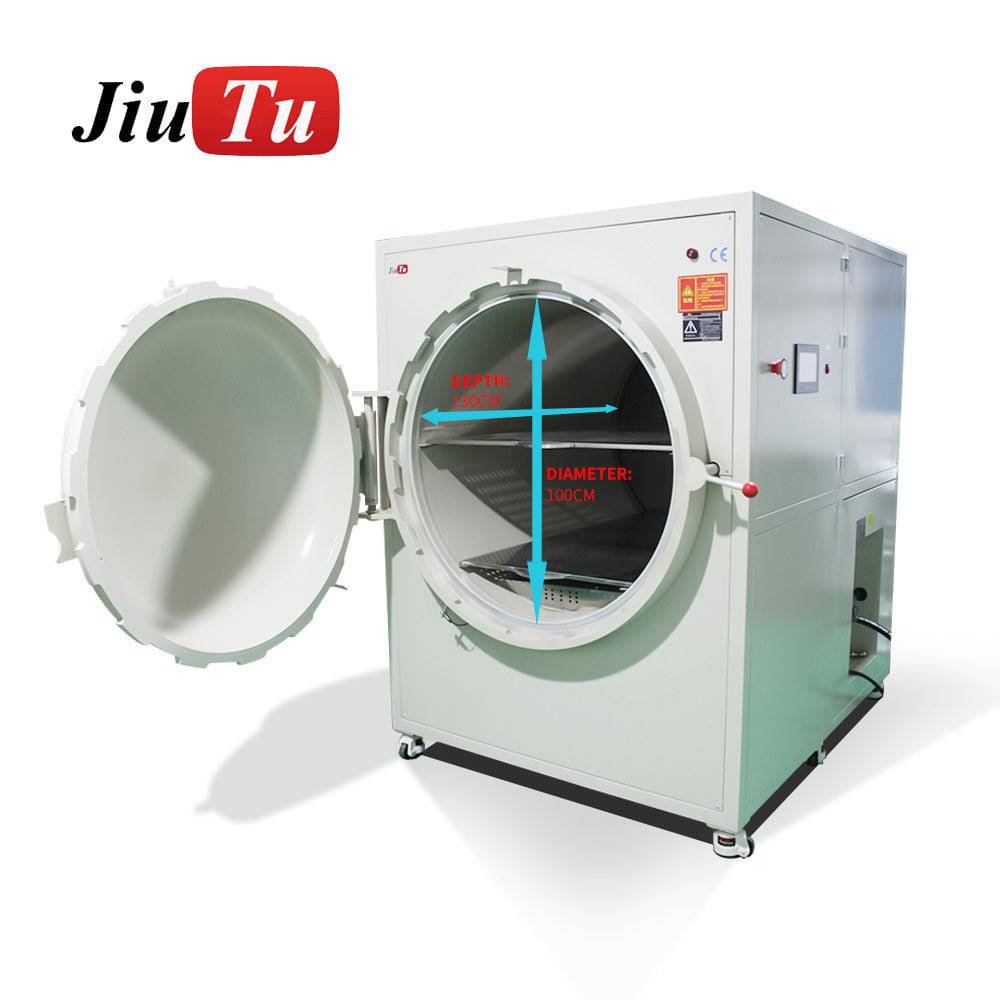
Chamber size
Measure the full assembly, not only the diagonal. Include flex cable direction, frame, tray clearance, and loading movement.
Pressure
Stable pressure helps compress trapped air. Too much pressure may create marks if loading support is uneven.
Temperature
Mild heat helps OCA settle. However, unstable heat can change adhesive behavior and make results less repeatable.
Cycle time
The goal is not the fastest cycle. The goal is the shortest stable cycle that passes rest and powered-on inspection.

Machine matching table: choose by workflow, not by name
A phone-only repair bench, a tablet refurbishment desk, and an industrial display module room should not choose equipment the same way. The table below keeps the decision practical.
| Workflow situation | Better fit | Reason | Check first |
|---|---|---|---|
| Daily phone LCD repair | Standard LCD bubble remover | Good for OCA finishing after lamination. | Screen count, tray space, pressure cycle. |
| Phone and tablet mixed work | Larger chamber model | Gives more room for cables and panel support. | Full panel size, not only diagonal size. |
| Frequent trapped air after lamination | Vacuum-related workflow review | Controls air before pressure finishing. | Laminator condition and OCA placement. |
| Industrial display module rework | Large chamber autoclave style | Supports wider panels and calmer loading. | Inner chamber, floor space, air supply. |
Use tips and common mistakes that affect final yield
The small habits around the machine often decide whether the repair line feels stable. A clean chamber, flat loading, proper rest area, and fixed inspection light may sound basic, but they reduce the kind of random problems that slow down a repair bench.
The following points are simple enough to apply during normal work. They do not require a new system, but they do require consistency.
Keep a short cycle log
Write down screen type, time, pressure, temperature, and result. After several days, the notes reveal which defects repeat.
Clean the tray area
Dust inside the tray area may transfer to protective film or glass edges. A quick wipe before work is easier than rework later.
Avoid mixed-risk batches
Do not load a sensitive panel with stronger LCD screens just to fill empty space. Similar screens make results easier to read.
Use side light every time
Side lighting shows edge lines and shallow bubbles better than top lighting. It also helps catch marks before assembly.
Pre-purchase checklist
Before requesting a machine suggestion, collect these details. This makes the recommendation more accurate and avoids a mismatch between machine size and daily work.
- Measure the largest screen assembly, including flex cable and frame.
- Record normal daily volume and peak-day volume.
- Separate phone LCD, OLED, tablet, and industrial panel work.
- Confirm whether OCA vacuum lamination is already stable.
- Check compressor availability and air pressure stability.
- Prepare photos of center bubbles, edge bubbles, dot bubbles, and cloudy marks.
- Plan a flat rest area after the chamber cycle.
- Set a powered-on inspection routine before judging yield.
FAQ
What does an LCD bubble remover remove?
It removes trapped air left after OCA lamination. It does not remove dust, scratches, or contamination trapped inside the screen stack.
Why do bubbles come back after the screen looked clear?
Edge bubbles may return when the adhesive did not settle evenly, the edge was not cleaned well, or the screen was inspected too soon after pressure.
Can one cycle setting work for every screen?
Usually not. Phone LCD panels, OLED screens, tablets, and larger display modules may need different pressure, time, temperature, and loading habits.
Is a vacuum laminator still needed?
In many OCA workflows, yes. The laminator creates the bond. The bubble remover finishes remaining trapped air after lamination.
What information helps Jiutu suggest the right model?
Panel size, screen type, daily quantity, current lamination process, air supply, room space, and photos of typical bubble defects are the most useful details.
Related reading
These Jiutu pages help compare product direction, chamber needs, and repair workflow choices.
Final take: choose the machine around the real workflow
An LCD bubble removing machine is most valuable when it supports a clear repair process. It should not be the place where every earlier mistake gets pushed and forgotten. The screen should already be clean, aligned, laminated, and ready for a controlled finishing step.
For phone screens, the focus may be repeatable OCA finishing. For tablet panels, chamber space and cable clearance become more important. For industrial display modules, documentation, rest time, and powered-on inspection matter even more.
For quotation support, sample machine advice, or a practical fit check, contact Jiutu Store with panel size, daily repair volume, screen type, current lamination setup, air supply condition, and photos of typical bubble defects.
Contact Jiutu for quotation and setup advice