
Clean lamination rarely comes from one trick. Instead, stable results come from a calm workflow that controls dust, alignment, pressure, and debubbling. In modern refurbishing and flat-panel assembly, lcd laminating often decides whether a screen looks premium or needs rework. Therefore, this guide focuses on benefits, use cases, compatible equipment pairing, and selection logic for bubble-free OCA results.”
Why lcd laminating matters for yield, clarity, and long-term reliability
Optical bonding and OCA lamination are not only about “sticking layers together.” More importantly, they reduce internal reflections, improve readability, and help protect display stacks against humidity ingress and micro-voids that grow over time. As a result, a stable lamination process directly supports consistent output quality.
Additionally, modern screens often combine multiple layers: cover glass, polarizer, touch sensor, display module, and adhesive films. Each interface can trap dust or air. Consequently, lcd laminating becomes the control point where small contaminants turn into visible defects.
Key benefits in real production and repair scenarios
First, a clean bond improves optical uniformity. Light transmission becomes more even, and haze is reduced. Meanwhile, fewer bubbles and dust points improve perceived sharpness and contrast.
Second, controlled lamination reduces rework. In many workflows, rework is expensive because it consumes film, time, cleaning materials, and labor hours. Therefore, improving the first-pass rate is often the fastest path to better margins.
Third, stable lamination protects downstream steps. When lamination is stable, debubbling becomes predictable, and sealing or final inspection becomes simpler.
Where lcd laminating adds the most value
In practice, lcd laminating is valuable across several environments:
-
Screen refurbishment labs handling phones, tablets, and small LCD modules
-
Large display repair setups for monitors, industrial HMI, or in-vehicle displays
-
Prototype lines testing bonding materials, cover glass types, or new stack structures
-
Optoelectronics and industrial TFT projects requiring reliable bubble removal and stable pressure/temperature control
Because the same defect types appear in different sizes, a workflow designed for calm repeatability scales better than one built around “quick fixes.”
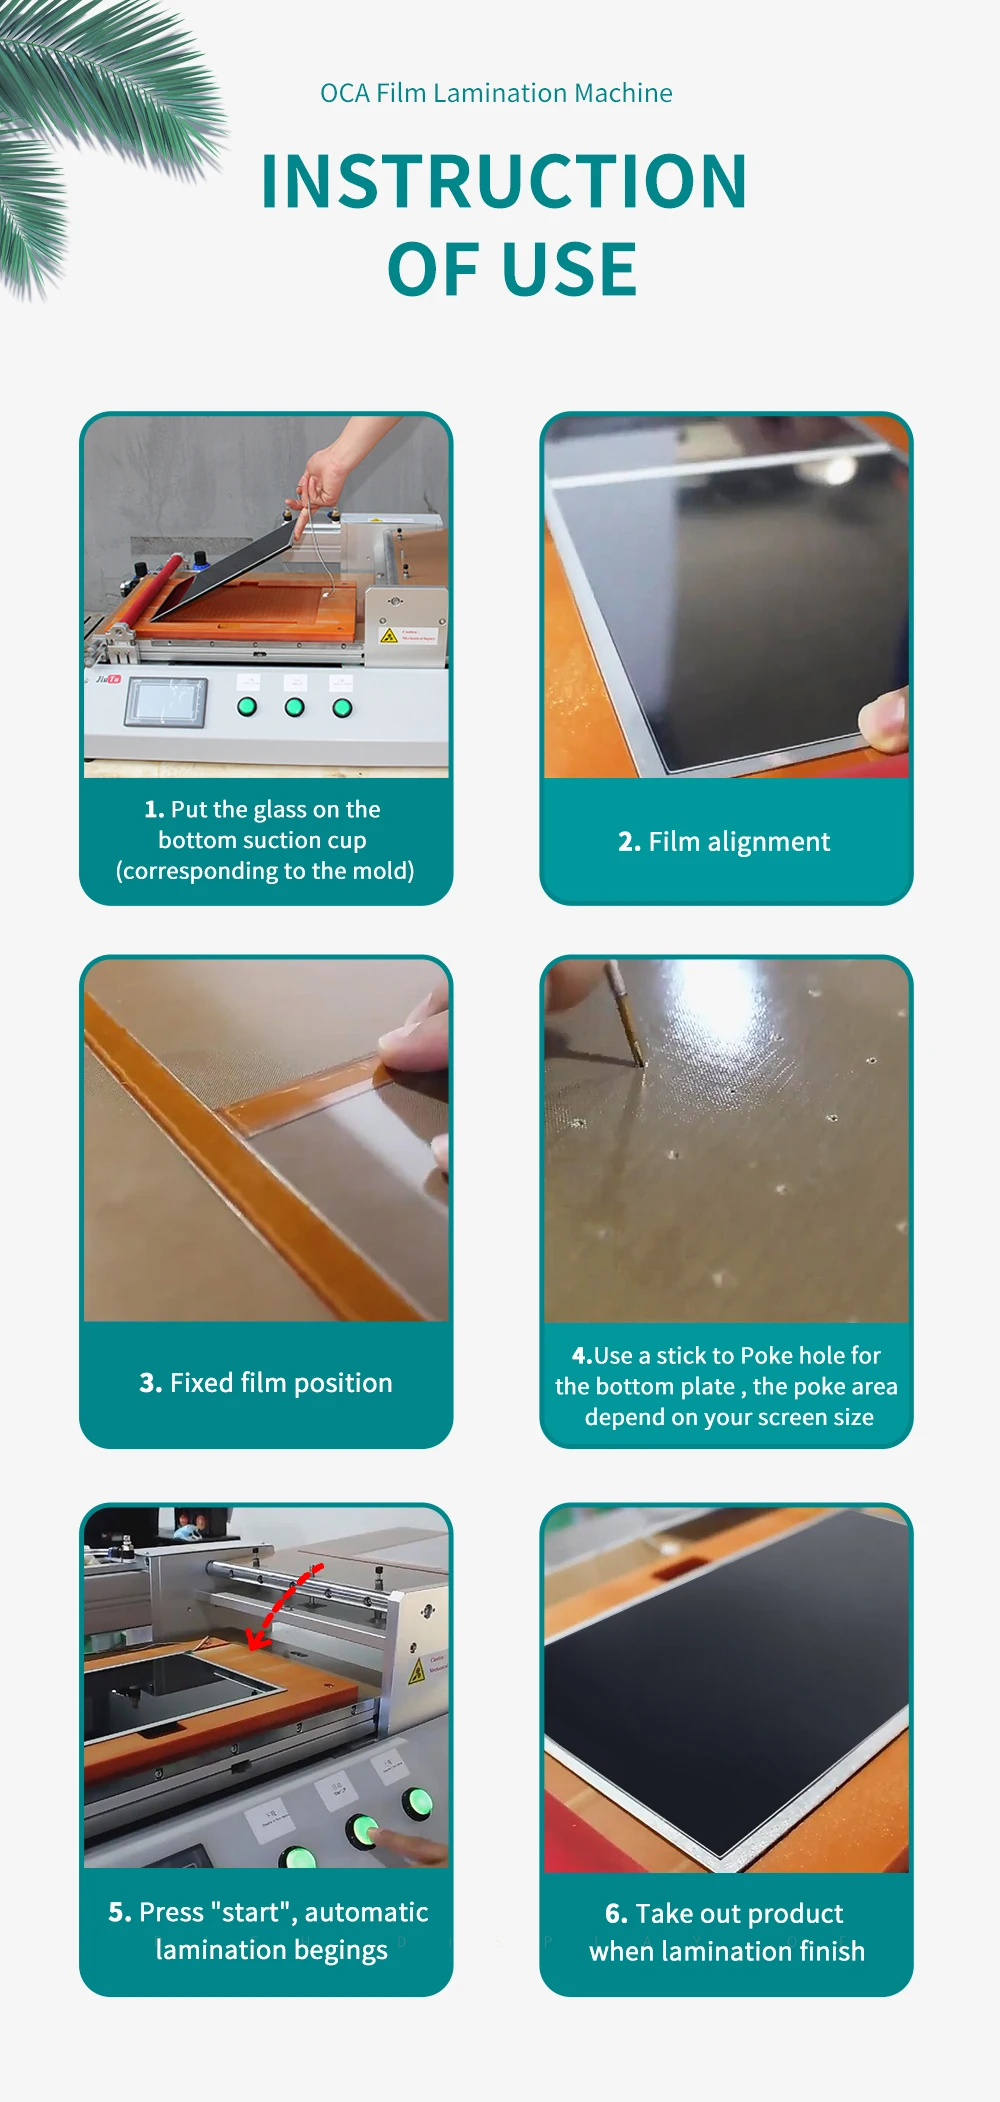
A calm, dust-free workflow for bubble-free OCA lamination
A stable process is built from repeatable preparation, controlled lamination, and dependable debubbling. While exact steps vary by screen type, a calm workflow usually follows the same logic: reduce dust and moisture first, then manage alignment and pressure, and finally remove micro-bubbles under controlled conditions.
Step 1: Surface preparation that prevents recurring defects
Before lamination, preparation should focus on dust control and surface readiness. For example, even “invisible” particles can become bright points after bonding.
Common preparation logic includes:
-
Clean surfaces using low-lint wipes and appropriate cleaning fluids
-
Keep the working area organized to reduce airborne contamination
-
Use consistent handling methods to prevent fingerprints and edge smears
-
Control humidity where possible, since moisture can contribute to haze and micro-bubbles
Moreover, preparation is where calm pacing helps. Rushing here often creates defects that no machine can fully hide later.
Step 2: Film handling and alignment without stress
OCA film and protective films behave differently depending on temperature and storage conditions. Therefore, consistent handling reduces misalignment, edge lift, and trapped particles.
Helpful habits include:
-
Store films in stable conditions to prevent curl and static buildup
-
Align film using a consistent reference edge or fixture method
-
Avoid excessive peeling speed, since static attraction pulls dust into the stack
-
Maintain a clean staging area for parts waiting for lamination
When alignment is stable, lamination pressure can do its job evenly. Otherwise, pressure may “freeze” defects into place.
Step 3: Vacuum lamination for controlled pressure and reduced trapped air
Vacuum lamination is often used because it reduces trapped air at the interface. In addition, controlled pressure helps bond the layers evenly across the surface, especially on larger screens.
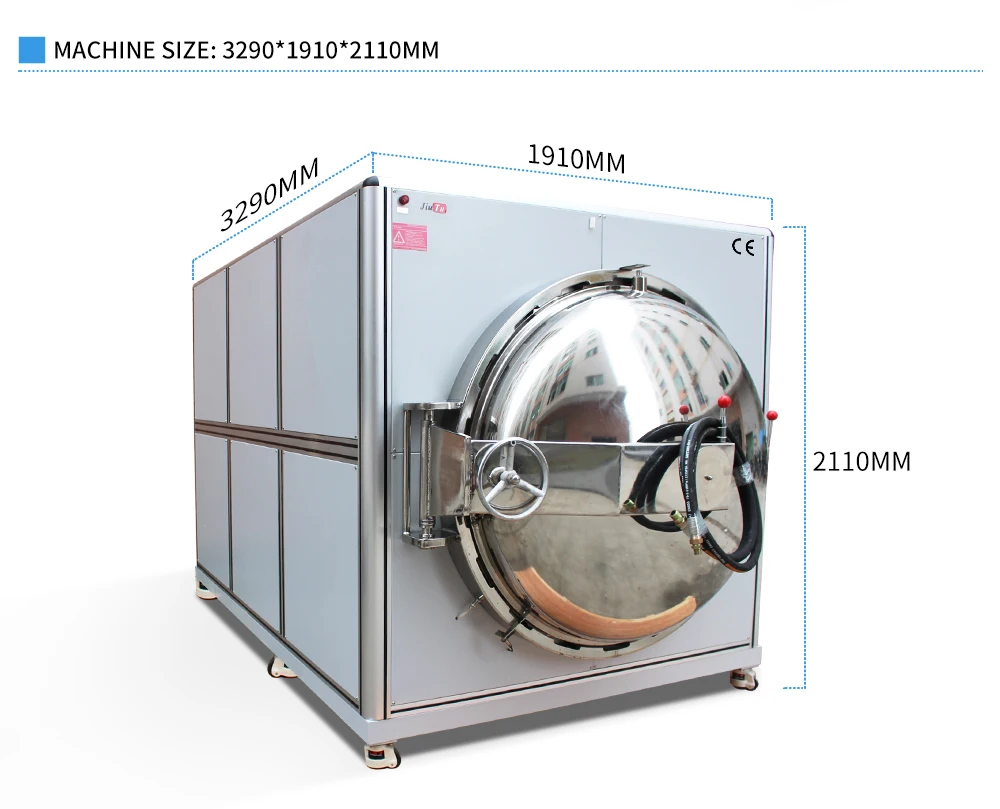
A large-format lamination example is shown below, which supports flat-panel lamination workflows with stable platform size and controlled pressing.

For optical bonding equipment, the most practical comparison is by screen size, chamber capacity, and pressure control.
Step 4: Debubbling and bubble removal as a finishing control
Even when lamination looks “good,” micro-bubbles can remain, especially around edges, cutouts, or thicker stacks. Consequently, a controlled bubble removal step is often used to finish the result.
A bubble remover machine supports high-pressure, temperature-assisted debubbling in optical bonding workflows:
In many workflows, debubbling is treated as a stability step, not a rescue step. Therefore, it should run with consistent settings rather than frequent improvisation.
Step 5: Process documentation for consistent output
Finally, stable results improve when settings are documented. Even simple records help, such as:
-
Screen type and size
-
Film type and thickness
-
Temperature and timing windows
-
Pressure/vacuum settings
-
Debubbling cycle settings
Over time, documentation reduces repeated trial-and-error. Meanwhile, it helps new operators follow the same calm routine.
Choosing the right equipment combination for lcd laminating
Equipment selection is not only about “bigger is better.” Instead, it should match screen size, workflow volume, and defect tolerance. Additionally, equipment should support the environment realistically available, such as air supply, voltage, and space.
For a complete overview, group equipment by workflow stage first, then compare sizes and process controls.
1) Vacuum laminator: the core bonding step
A vacuum laminator supports controlled lamination pressure and helps reduce trapped air. Consequently, it is commonly used for OCA lamination and optical bonding preparation.
Large vacuum laminators are typically useful for:
-
Large LCD panels and flat-panel displays
-
Multi-piece batches where the platform supports multiple parts
-
Stable, repeatable pressing with programmable settings
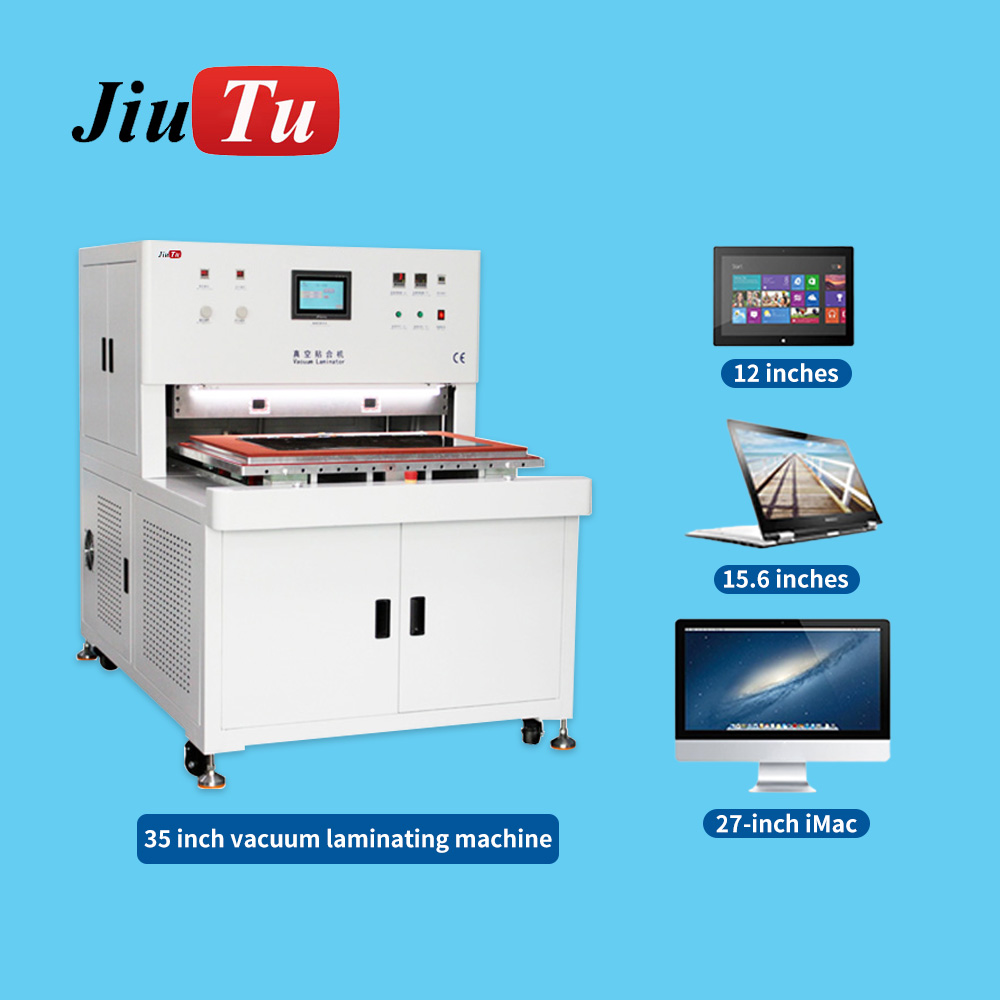
The following image shows an OCA film lamination platform that supports a stable workflow and repeatable pressing:
Meanwhile, the equipment shortlist becomes clearer when grouped by lamination stage, screen size, and adhesive type.
2) Bubble remover machine: yield protection after lamination
A bubble remover helps remove air bubbles and micro-voids after vacuum lamination. As a result, it improves first-pass appearance and reduces the chance of late-stage rejects.
This type of equipment is often used when:
-
Panels are large and micro-bubbles become obvious under backlight
-
Adhesive layers are thick or have complex edges
-
Higher yield is required with minimal rework cycles
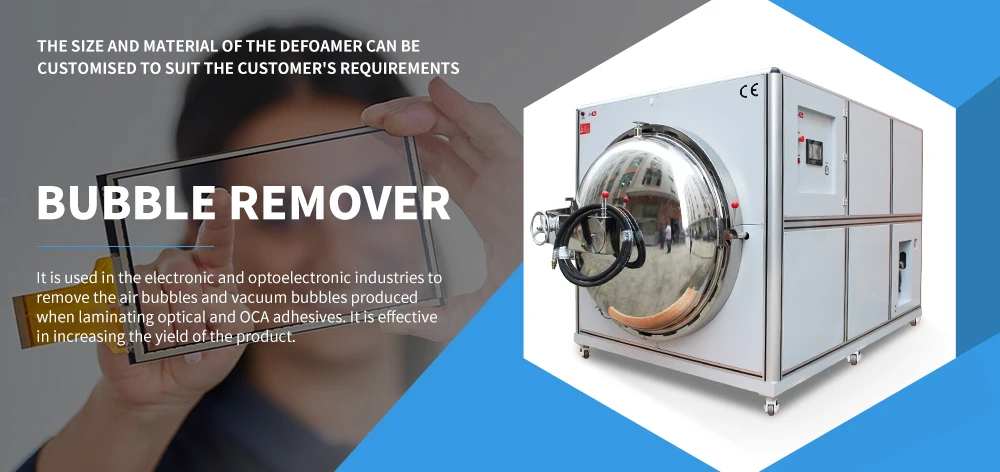
One visual example is shown below:
3) Film/polarizer lamination tools: faster staging and stable alignment
For smaller displays or specific steps such as polarizer lamination, dedicated film lamination tools can simplify alignment and reduce handling errors. Therefore, they are useful when the workflow includes polarizer replacement, protective films, or repeated small-screen operations.
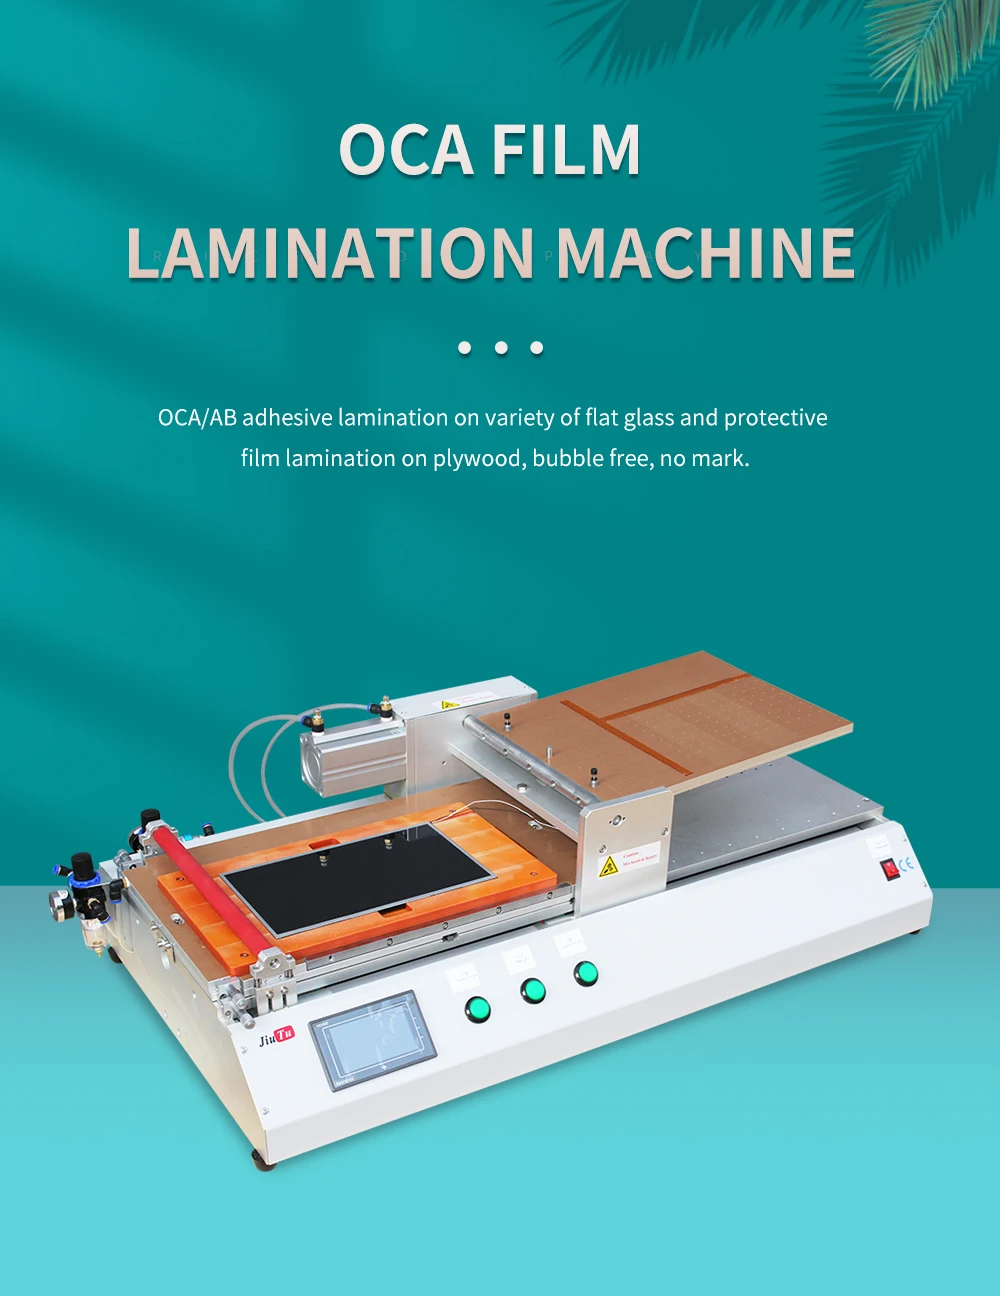
An example of a film lamination machine view is shown here:
4) Matching equipment by size and use case
To select equipment logically, it helps to group by typical workload:
-
Phone and tablet workflows (small format): film/polarizer lamination tools + compact debubbling
-
Mixed repair labs (small to medium): flexible laminator platform + bubble remover to protect yield
-
Large flat-panel workflows (large format): large vacuum lamination platform + stable bubble removal cycles
In each case, the best combination is the one that reduces uncontrolled variables. Therefore, “ease of repeatability” often matters more than maximum spec claims.
Common defects in lcd laminating and what they usually mean
Defects often look similar but have different root causes. Consequently, solving them requires understanding what the defect indicates about preparation, lamination conditions, or debubbling cycles.
Bubble types and typical causes
-
Large bubbles near edges: often linked to misalignment, uneven pressure, or trapped air during placement
-
Micro-bubbles across the surface: frequently tied to dust, moisture, or incomplete vacuum contact
-
String-like bubbles: sometimes caused by film stretch, uneven peel, or partial adhesion during pressing
-
Cloudy haze: often related to contamination, moisture, or adhesive aging/handling conditions
Because multiple causes can overlap, the calm approach is to change one variable at a time and document results.
Dust points and “sparkle” under backlight
Dust points are often the most frustrating because they remain visible after debubbling. In many cases, dust control is best handled upstream:
-
Improve staging cleanliness and reduce open exposure time
-
Use consistent wipe direction and avoid re-wiping already cleaned surfaces
-
Reduce static and keep packaging materials away from open parts
As a result, less effort is spent trying to “fix” defects that cannot be corrected downstream.
Edge lift and bonding uniformity problems
Edge lift can occur when pressure distribution is uneven, film tension is wrong, or edges were not prepared consistently. Therefore, bonding uniformity checks should include edge inspection, not only the center area.
Helpful process habits include:
-
Ensure the pressing platform is level and stable
-
Use consistent fixtures or molds where applicable
-
Keep temperature and timing consistent to reduce adhesive behavior changes
Practical pairing ideas: building a stable lamination line
A stable line usually combines equipment and consumables so each step supports the next. Moreover, the workflow should minimize unnecessary handling.
Pairing 1: Large screen lamination + bubble removal
For large screens, pairing a vacuum laminator with a bubble remover creates a predictable two-step finishing cycle. Therefore, the lamination step focuses on alignment and initial bonding, while the bubble removal step cleans up micro-voids under controlled conditions.
Suggested pairing concept:
-
Vacuum lamination machine for the bonding step
-
Bubble remover machine for final appearance stability
-
Consumables that support low dust and stable handling
Pairing 2: Film staging + vacuum lamination for steady throughput
When film placement is the bottleneck, a dedicated film lamination tool can speed staging and reduce alignment errors. Subsequently, vacuum lamination becomes more consistent because the part enters the press in a better condition.
A visual “instruction style” view can help communicate consistent film handling steps:
Pairing 3: A collection-first approach for scaling options
When selecting equipment, browsing by category keeps selection structured. For example, the Optical Bonding Machine category includes lamination and debubbling options in one place:
Optical Bonding Machine
Selection logic: how to choose the right setup without overbuying
A well-chosen setup is the one that matches real workload and reduces uncontrolled variables. Therefore, selection should follow constraints first, then performance.
Start with constraints: size, power, space, and air supply
Important constraints include:
-
Maximum panel size (working area and chamber size)
-
Available voltage and power capacity
-
Floor space and handling clearance
-
Compressed air availability if required
When constraints are clear, the shortlist becomes easier and avoids wasted time.
Then focus on controllability: settings, stability, and repeatability
Controllability usually matters more than peak speed. For example, programmable settings and stable pressure distribution reduce “operator-dependent” variation.
Look for:
-
Clear parameter control (pressure, temperature, time)
-
Stable platform design and repeatable positioning
-
Predictable vacuum performance
-
Consistent debubbling cycles
Finally consider throughput and support materials
Throughput depends not only on machine speed but on preparation and staging efficiency. Consequently, a balanced system often outperforms a single “fast” machine in a chaotic workflow.
Helpful planning questions:
-
How many screens per day should be processed?
-
How many screen sizes are common?
-
How often are film types switched?
-
What is the acceptable defect rate for visible inspection?
FAQ: lcd laminating workflow, results, and choosing equipment
What is the difference between OCA lamination and optical bonding?
OCA lamination typically refers to bonding layers using an optically clear adhesive film. Optical bonding is a broader concept that includes different bonding methods, such as OCA film, LOCA liquid bonding, and other adhesive systems. In practice, OCA lamination is often one of the most common approaches for stable results in display stacks.
Why do bubbles appear even after vacuum lamination?
Vacuum lamination reduces trapped air, yet micro-bubbles can remain due to dust, moisture, uneven pressure, film tension, or complex edge geometry. Consequently, a bubble removal step is often used to remove residual micro-voids under controlled temperature and pressure.
Does higher temperature always improve bonding?
Not always. Temperature affects adhesive flow and wet-out, but excessive heat can increase risk of distortion, uneven adhesion, or material stress in sensitive layers. Therefore, stable settings and documented windows are better than simply “turning it up.”
What causes dust points that stay visible after debubbling?
Dust points are usually physical contamination trapped between layers. Because debubbling removes air but not particles, dust control must be handled during preparation and staging. As a result, improvements in cleaning and handling often deliver the largest quality gains.
What setup works best for mixed screen sizes?
A flexible setup often includes a vacuum laminator that supports the largest common panel size, plus fixtures or molds for smaller parts. Additionally, a bubble remover machine protects yield across sizes because micro-bubbles can appear on both small and large screens.
How can a workflow reduce rework without slowing production?
A calm workflow reduces rework by preventing defects early rather than correcting them later. For example, structured staging, clean handling, and consistent parameter control typically save time overall, because fewer parts return for repeated cycles.
How should equipment browsing be organized for selection?
A category-first approach helps. For example, grouping equipment by lamination stage and screen size reduces selection time.
calm process beats fast improvisation
A reliable finish comes from controlled preparation, stable alignment, predictable vacuum lamination, and consistent debubbling. Therefore, lcd laminating improves most when the workflow reduces dust exposure, documents settings, and uses matched equipment for size and throughput. For deeper cluster context, the topic pillar can be referenced here: lcd laminating. Meanwhile, equipment discovery remains easiest through the category hub: Optical Bonding Machine.
3 practical, executable next steps
-
Standardize preparation: create a short checklist for cleaning, staging, and handling, then log defect types for one week.
-
Lock parameter windows: choose stable settings for time/temperature/pressure per screen family, and avoid frequent changes without documentation.
-
Build a topic cluster: publish supporting pages that link back to the lcd laminating pillar and to the Optical Bonding Machine category for clear internal structure.