Choosing an Industrial Optical Bonding Machine is not only about screen size or a machine photo. In a real repair room or display workshop, the final result depends on dust control, edge bubbles, alignment shift, adhesive behavior, fixture design, debubble steps, and the way each panel is inspected after bonding.
What Industrial Optical Bonding Means for Displays
In daily work, optical bonding usually starts with a simple problem: the screen looks fine on the bench, but a bubble appears near the black border after cooling. Sometimes the defect is smaller than a grain of rice. However, under side light, it becomes the first thing the technician sees.
Optical bonding fills the air gap between the display and cover glass with optically clear adhesive. As a result, the display stack becomes tighter, reflection is reduced, and the front glass feels more integrated with the panel. This matters for industrial control screens, car navigation displays, medical-style terminals, outdoor panels, and repair lines that need stable visual quality.
However, bonding is not magic. If the glass is warped, the fixture is loose, the adhesive thickness is wrong, or the cleaning step is rushed, the same defect will return. Therefore, a good buying guide should not begin with a parameter table. It should begin with the defects seen after a real bonding job.
 View Optical Bonding Machine
The real problem is usually not one single parameter
A rejected bonded screen usually has a story. A dust point may come from the cloth, the table, the air, or a hand movement during film removal. An edge bubble may come from adhesive flow, uneven support, pressure sequence, or the way the corner is held inside the mold.
Therefore, the better question is not “which machine is best.” The better question is: what kind of panel is being bonded, where does the defect appear, and what step creates that defect most often? Once this is clear, machine matching becomes far more practical.
OCA, OCR, SCA and Vacuum Bonding: How to Choose
Adhesive choice should come before machine choice. This sounds strict, but it saves many wrong purchases. OCA film, OCR liquid adhesive, and SCA-style bonding materials behave differently under pressure, heat, vacuum, and curved glass.
OCA is often easier to control for flat and repeatable work. The film thickness is already defined, so the process can become stable once the fixture, alignment and pressure sequence are settled. However, OCA does not forgive careless placement. A small shift during film contact may lead to dust, stretch marks, or a trapped edge bubble.
OCR is different. Because it flows, it can help with uneven gaps or certain special structures. However, liquid adhesive also brings overflow, curing, cleaning and waiting-time issues. In a busy repair room, this extra handling must be planned, not guessed.
 View Optical Bonding Adhesive Setup
When OCA makes more sense
OCA is suitable when the panel is flat, the glass shape is consistent, and the same model repeats many times. For example, a repair station that handles the same tablet screen all week can build a steady routine: clean, inspect, align, laminate, debubble, inspect again.
However, if the panel has narrow black borders, camera holes, sensor windows, or edge curves, the fixture becomes more important. In that case, a larger machine alone will not solve the problem. The OCA needs controlled contact, stable support and enough air escape path.
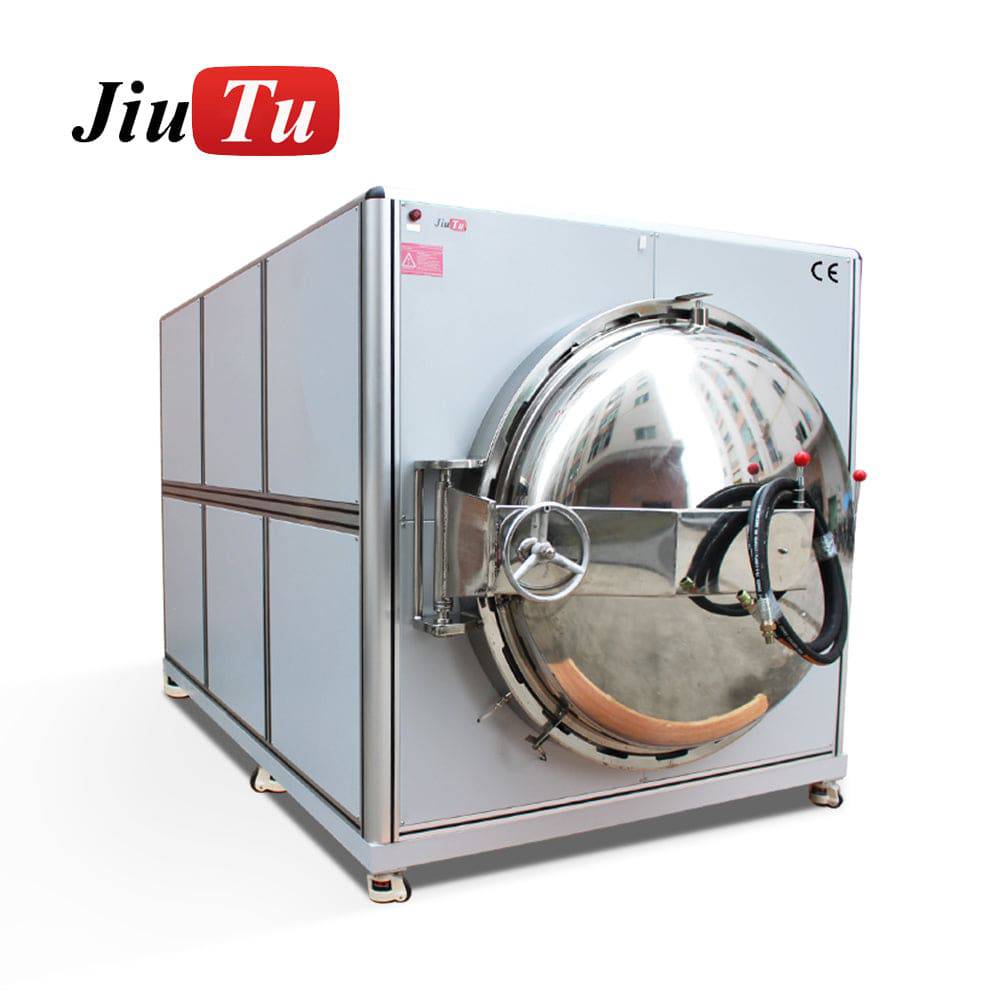
When vacuum bonding becomes necessary
Vacuum bonding becomes more important when trapped air is the repeated problem. Air often hides at corners, around holes, near black borders, and beside small height changes. Therefore, vacuum control is not just a “nice feature.” It can decide whether the panel passes side-light inspection.
Still, vacuum cannot replace cleaning and fixture design. If the panel is dusty before bonding, vacuum will not remove the dust. If the glass is unsupported at one corner, vacuum will not fix the pressure mark. A full process view is always safer.
Panel Information to Prepare Before Matching Equipment
A machine discussion becomes vague when the panel information is vague. “About 20 inches” is not enough. “Industrial screen” is not enough either. The useful details are outer glass size, active display size, thickness, border width, adhesive type, and visible defect position.
For example, a 15.6-inch flat industrial panel and a 15.6-inch framed panel may need different support. One may sit cleanly on a standard fixture. The other may need a custom mold because the frame creates a small height difference near the edge.
Defect photos are also useful. A clear photo under side light can show whether the issue is dust, pressure, alignment, edge bubbles, or adhesive overflow. Therefore, photos should not be treated as decoration. They are part of the selection data.
Information worth preparing
- Cover glass size, display size, active area and total thickness.
- Flat glass, curved glass, framed structure or open-cell module.
- Adhesive route, such as OCA, OCR, SCA or another clear bonding material.
- Daily quantity, model variety and expected changeover frequency.
- Photos of dust dots, edge bubbles, alignment shift or pressure marks.
- Need for fixture, mold, CCD alignment, debubble equipment or larger platform.
This list looks simple. However, it prevents the most common mistake: buying around a maximum screen size while ignoring fixture and process behavior.
Equipment Matching by Screen Size and Use Scene
Screen size matters, but it is not the whole story. A small display with a narrow border can be harder than a larger flat panel with a wide hidden edge. Meanwhile, a large display may look simple until pressure marks appear across the center.
For small screens, alignment and dust control often matter most. For medium industrial panels, fixture repeatability and inspection method become more important. For large displays, working area, lifting space, pressure balance and debubble planning should be considered early.
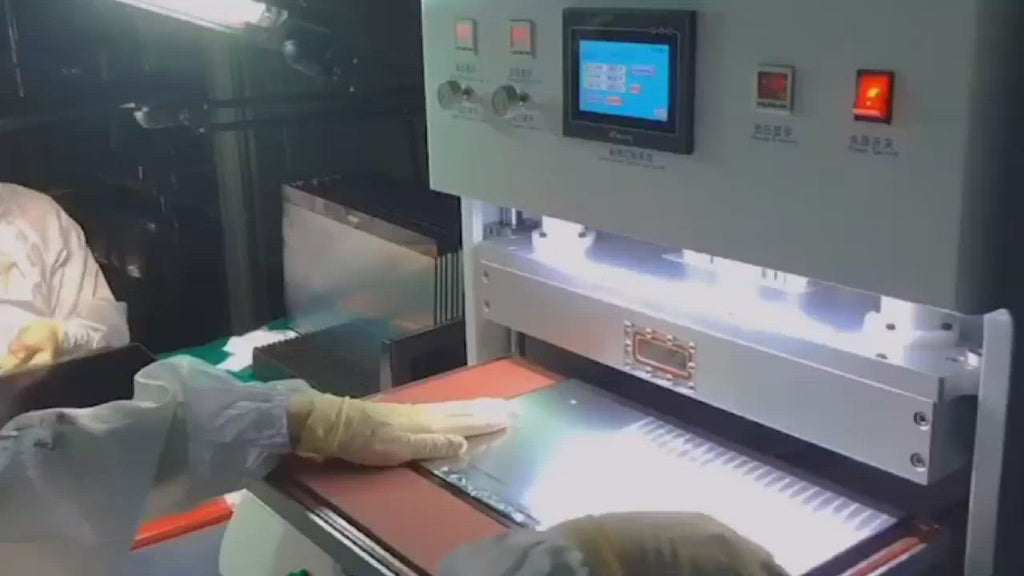
 View OCA Vacuum Laminator Machine
Repair factory with mixed daily models
A repair factory may handle phones in the morning, tablets after lunch, and a car navigation panel before closing. Therefore, flexibility matters. The process needs fast fixture change, clear operator habits, and simple inspection rules.
In this scene, the machine should not be judged only by output speed. A slower but steadier setup may reduce rework. Also, a visible inspection lamp near the bonding table can save more panels than a rushed workflow.
Display module workshop with repeated models
A display module workshop usually values repeatability. When one panel runs for several days, fixture accuracy, process records and stable pressure matter more than quick switching. A small drift repeated 100 times becomes a serious loss.
Therefore, the best setup may include a custom fixture, defined cleaning area, trained placement routine and planned debubble step. The machine should support that rhythm instead of forcing the team to work around it.
Fixture, Mold, Debubble and QC: The Parts That Decide the Result
Many bonding failures do not come from the machine body. They come from the small steps around the machine. The panel is touched too many times. The mold is not flat. The operator removes film too early. Or the inspection happens only after the defect is already locked inside.
A fixture makes hand placement more repeatable. A mold supports curved or uneven glass. A debubble process helps manage trapped air after lamination. Meanwhile, QC under side light catches the problems that front viewing often misses.
 Check Vacuum Laminating Workflow
How to read defect patterns
If bubbles appear in the same corner again and again, the process is giving a clear message. The fixture may not support that area, the adhesive may not wet the corner well, or the air may not have a clean escape path.
If dust appears randomly, the message is different. The issue may sit in the cleaning cloth, open packaging, air movement, protective film removal, or table discipline. In that case, buying a larger machine will not fix the root cause.
If pressure marks appear near the center, check support flatness and pressure setting. Large glass can flex slightly during bonding. Once pressure locks that stress into the stack, the mark may stay visible under light.
Purchase Checklist Before Choosing an Industrial Optical Bonding Machine
Before selecting an Industrial Optical Bonding Machine, the process should be checked from the panel outward. This reduces the risk of choosing equipment that looks correct but does not match the actual workbench.
Practical buying checklist
- Confirm the largest cover glass size, not only the display diagonal.
- Check whether the panel is flat, curved, framed or uneven.
- Decide whether OCA, OCR, SCA or another adhesive route is planned.
- Prepare sample panels and clear defect photos.
- Judge whether CCD alignment is needed for narrow borders or holes.
- Plan fixture and mold design before production begins.
- Include debubble and side-light inspection in the workflow.
- Estimate daily quantity by model, not only monthly quantity.
- Record sample settings so clean results can be repeated.
This checklist is not complicated. However, it helps avoid the common habit of comparing machines only by platform size. In real bonding work, fixture, adhesive, pressure and inspection often decide more than the headline specification.
For that reason, Jiutu-style matching should begin with panel size, glass thickness, adhesive type, daily quantity and defect photos. Those details make the machine conversation much more accurate.
Extended Reading and Related Equipment
The following pages are useful when the project needs a complete optical bonding workflow rather than a single machine choice.
FAQ
Does every Industrial Optical Bonding Machine need CCD alignment?
No. CCD alignment is useful when the panel has narrow borders, camera holes, sensor windows or strict visual tolerance. However, a flat panel with wide hidden borders may work well with a precise fixture and stable placement routine.
What causes edge bubbles after bonding?
Edge bubbles may come from poor cleaning, wrong adhesive thickness, weak edge wetting, uneven fixture support or insufficient debubble control. If bubbles appear in the same corner repeatedly, fixture and pressure behavior should be checked first.
Is OCA better than OCR for display bonding?
OCA is often easier for flat and repeatable panels because the adhesive film thickness is controlled. OCR may help with uneven gaps or special structures, but it needs better control over dispensing, curing, overflow and cleaning.
When is a larger working area necessary?
A larger working area is necessary when the cover glass, not only the display size, needs more room. Handling margin also matters. If glass barely fits the platform, placement becomes risky and dust problems become more likely.
What should be prepared before asking Jiutu for machine matching?
Prepare panel size, cover glass size, glass thickness, adhesive type, daily quantity, photos of defects, and notes about curved glass, holes, frames or flex cable position. Sample panels make the matching process much more reliable.
Conclusion
A good optical bonding setup starts with the panel, not the machine catalog. The most useful decision comes from real glass size, adhesive choice, defect pattern, fixture need, alignment tolerance, daily quantity and QC method.
For an Industrial Optical Bonding Machine, the next step should be sample-based matching. Send Jiutu the panel size, glass thickness, adhesive type, daily quantity and defect photos, then request a suitable setup for the actual bonding scene.
- Prepare real samples before final machine selection.
- Match fixture, adhesive and debubble process together.
- Use side-light inspection and defect records to guide adjustment.
Need a Practical Optical Bonding Setup?
Ask Jiutu to match panel size, glass thickness, adhesive type, daily quantity and defect photos before choosing the machine route.
View Optical Bonding Machine Collection